How to Setup a React Project using Vite
"Get ready for a development environment that can finally catch up with you."

I am a DevOps and Full-Stack Engineer. I love to build and maintain things that run on computers.
Vite is a build tool that provides a faster and leaner development experience for modern web projects. It has two major parts:
A development server that enhances native ES modules with features like extremely fast Hot Module Replacement (HMR).
A build command that bundles your code with Rollup and pre-configures it to output highly optimized static assets for production
It is designed to be fast and lightweight, making it an excellent choice for building web applications with React.
In this step-by-step guide, I will walk you through setting up React using Vite. We will cover the following:
Creating a new React project using Vite
Running the development server
Building the production-ready application
After going through this guide, you will gain a fundamental grasp on utilizing Vite as a build tool alongside React for building web applications.
Prerequisite
Node and npm installed on your local development machine.
Step 1: Create a New React Project using Vite
To create a new React project with Vite, open your terminal or command prompt and run the following command:
npm create vite@latest
When you hit enter, you will be prompted.
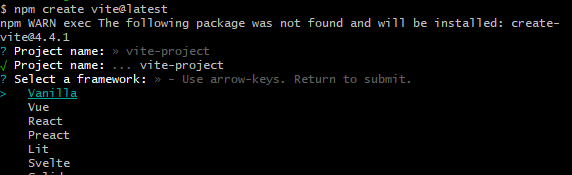
In the project name field, type the name of your project and press Enter. For the packages field, simply press Enter to use the default.
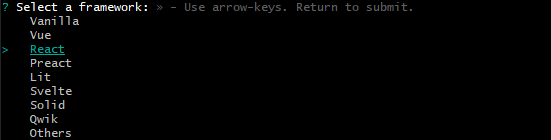
Next, you will be prompted to select a framework. Use the down arrow key to navigate to React and press Enter.
You will be prompted to choose the language you want to use along with React.

After you choose a language, you will be presented with this. "Go" is what I named my project folder.

Your project folder is now ready!
Step 2: Navigate into your project folder
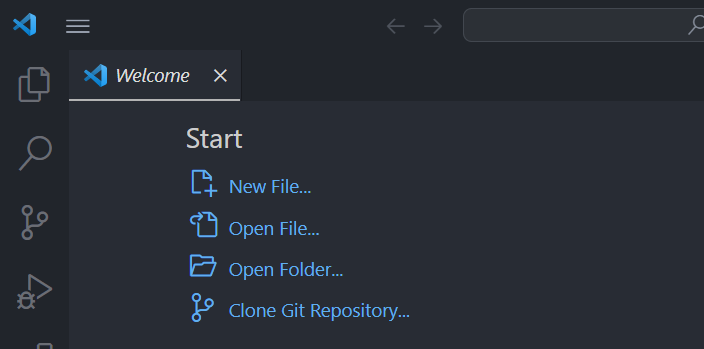
Once you have created your React project, open a text editor, such as Visual Studio Code. For this guide, I will be using VSCode. When you open your code editor, a window will appear. Click on "Open Folder" and select the folder you created in step one.
Step 3: Run the Development Server
After opening your folder in VSCode, the next step is to start a terminal. To start a development server in your terminal, type the following command and hit Enter:
npm run dev
After a few milliseconds, you will see this:
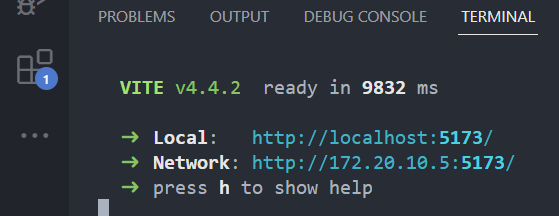
Click the "Local" to open your local server in your browser. Download the dependencies you need for your project and start building.
Step 4: Production Build
After you have built your application and are ready to deploy, you can initiate a build process by typing the following command and hitting Enter:
npm run build
The production build is created in the dist folder, ready to be deployed to a web server.
Conclusion
Congratulations! You have now successfully setup a React project using Vite. Vite's seamless integration with React allows you to focus on building great user experiences while benefiting from the speedy development process.
Don't forget to explore Vite's extensive documentation and customization options to tailor your development workflow even further.
Don't let the bugs bite. Happy coding. See you next time!


